Stereo  Images
Perhaps one of the most interesting ways to view 3D objects is with stereo glasses. These glasses have two pieces of plastic for lenses: on the left, a red piece, and on the right, a blue piece. When you view particular images with these glasses, you can fool your eyes (and your brain) into thinking that they're looking at a 3D object when, in fact, it's only a flat picture.
The trick is to think about how your eyes work. Because your eyes are separated by a few inches, they actually see slightly different images.
Do this:
Close your right eye (leave your left eye open!). Hold your finger up at arms length and make it point at a far-away object. Now, close your left eye and open your right eye. Your finger moves to the left! You will notice that your finger moves less if you're pointing to a near object.
Because of the difference in the images your eyes receive, you can tell how far away objects are. This is called stereo vision. We will call the two images that make up a single view, a stereo pair
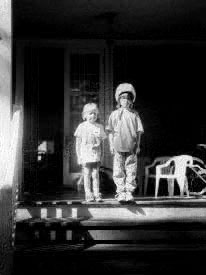
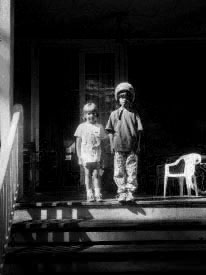
The goal, then, is to put a stereo pair in a single picture, and to use the glasses to separate the two images. The way we do this is to take two pictures, and take the red colors from the left picture, and all the rest of the colors from the right. For example, we have two images of girls on a porch:
We take the left image and make it red, and the right image, and make it blue-green, and the result is a stereo image:
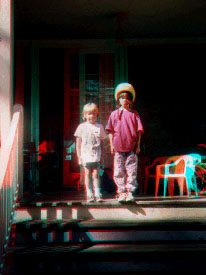 If you look at this image through stereo glasses and close one eye and then the other, you will see that the image selected is the appropriate image.
Here's How:
Follow the following steps to build a single 3D image for use with red-blue glasses:
- Carefully take two photographs with, say, a digital camera. Take a picture and then take a small step to the right to take the other. You needn't step very far to get a good
pair of images. Make sure that
- you subject does not move. Have people stand very still.
- you focus on a particular point. Perhaps a person in the middle, or a particular tree. Note what you're focusing in on.
- you don't move the camera up or down. Keep the two pictures at the same level.
- Transfer your images to a computer in JPEG form. Make sure you store them
in separate files marked with left and right.
- Open both pictures in PhotoShop. Put the left picture on the left and the right on the right (so you don't forget).
- Click on the left picture. From the Window menu, pick the Palette named "Channels". This palette has four different views: RGB, Red, Green, and Blue.
- Click on the Red Channel. The left picture will now look gray. You are looking at only the red part of the left image.
- Select the entire picture, and copy it. (command-A, command-C)
- Now, click on the right picture. Notice that the channels change to show the
channels of the currently selected picture.
- Click on the Red channel, and select the entire right picture.
- Paste. This will place the Red channel from the left picture as a replacement for the Red channel of the right picture. DO NOT CLICK TO REMOVE THE SHIMMERING LINES. We will need to align the Red and Green channels.
- Click on the Green channel. Carefully place your finger on the location you focused the camera on when you took the picture.
- Without moving your finger, click on the Red channel and slide the image until the focus point is where you're pointing. This may require several flips between the Red and Green channels.
- When you have aligned the pictures, click on the RGB channel. Without clicking on the image, select Copy from the Edit menu. This will copy the useful part of the
image.
- Select New from the File menu. This will create a new image of exactly the correct size. Click in the new window and paste the image. You have now created your
3D image!
It is sometimes useful to adjust the brighness and contrast of the final image with your
3D glasses on. If you adjust the brightness or contrast before joining the two images, make sure they are adjusted exactly the same amount.
Important!
Make sure you have appropriate 3D glasses: the red film should be on the left, and the blue should be on the right. Some glasses are reversed. Simply use these backwards!
Here are some other 3D pictures you might enjoy:
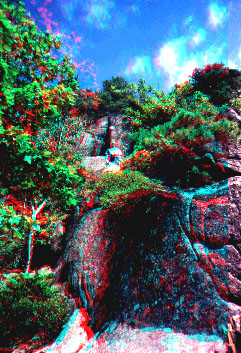
Megan Bailey climbing the Beehive at Acadia.
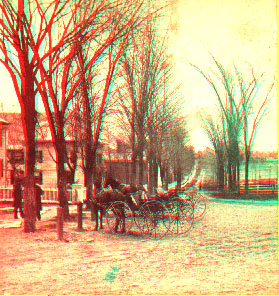
East Broadway, Amherst, Mass., circa 1890
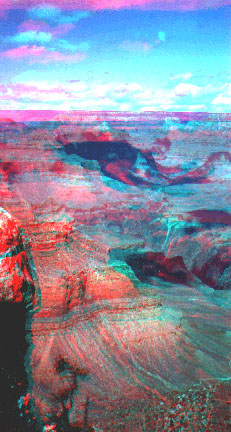
View from the South Rim of the Grand Canyon.
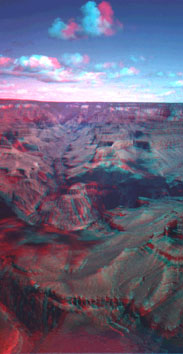
View of Colorado River in the Grand Canyon.
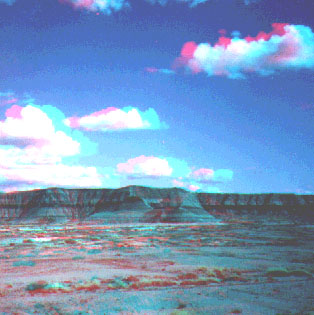
Painted desert/petrified forest, Arizona.
You can read more about 3D imaging in August's National Geographic's articles on Mars and the Titanic. Some excellent 3D images of Mars can be found at
http://mars.jpl.nasa.gov/index1.html. Check it out! (and grab some photos!)